My First Tutorial...EVER!!!
A Light Spring Sweater

I posted a picture, on my personal Instagram, of a light spring sweater. I got a lot of comments on how to crochet this. I am going to attempt my first tutorial. Please leave comments or email me if something does not make sense. It's a VERY EASY pattern.
I love wearing summer dresses and tank tops in the spring but the air still gets so chilly sometimes; so I always want a sweater around.

My little sister modeling my sweater for me.
YARN For yarn, this is a little tricky for me to answer only because I get a lot of yarn donated to me from friends. So, this yarn in particular didn't have a label at all but I will do my best to explain what type of yarn it is. First, the yarn that I used in particular really can't be bought from a JoAnn's or Michael's only because it's a machine knitting spool of yarn. But you can buy yarn just as thin and similar but it's sold as a skein. You can get the same type of yarn anywhere just feel around for very thin yarn. On the label, the weight can be anywhere from 1-3. Plus, JoAnn's and Michael's always have 40-50% off coupons.
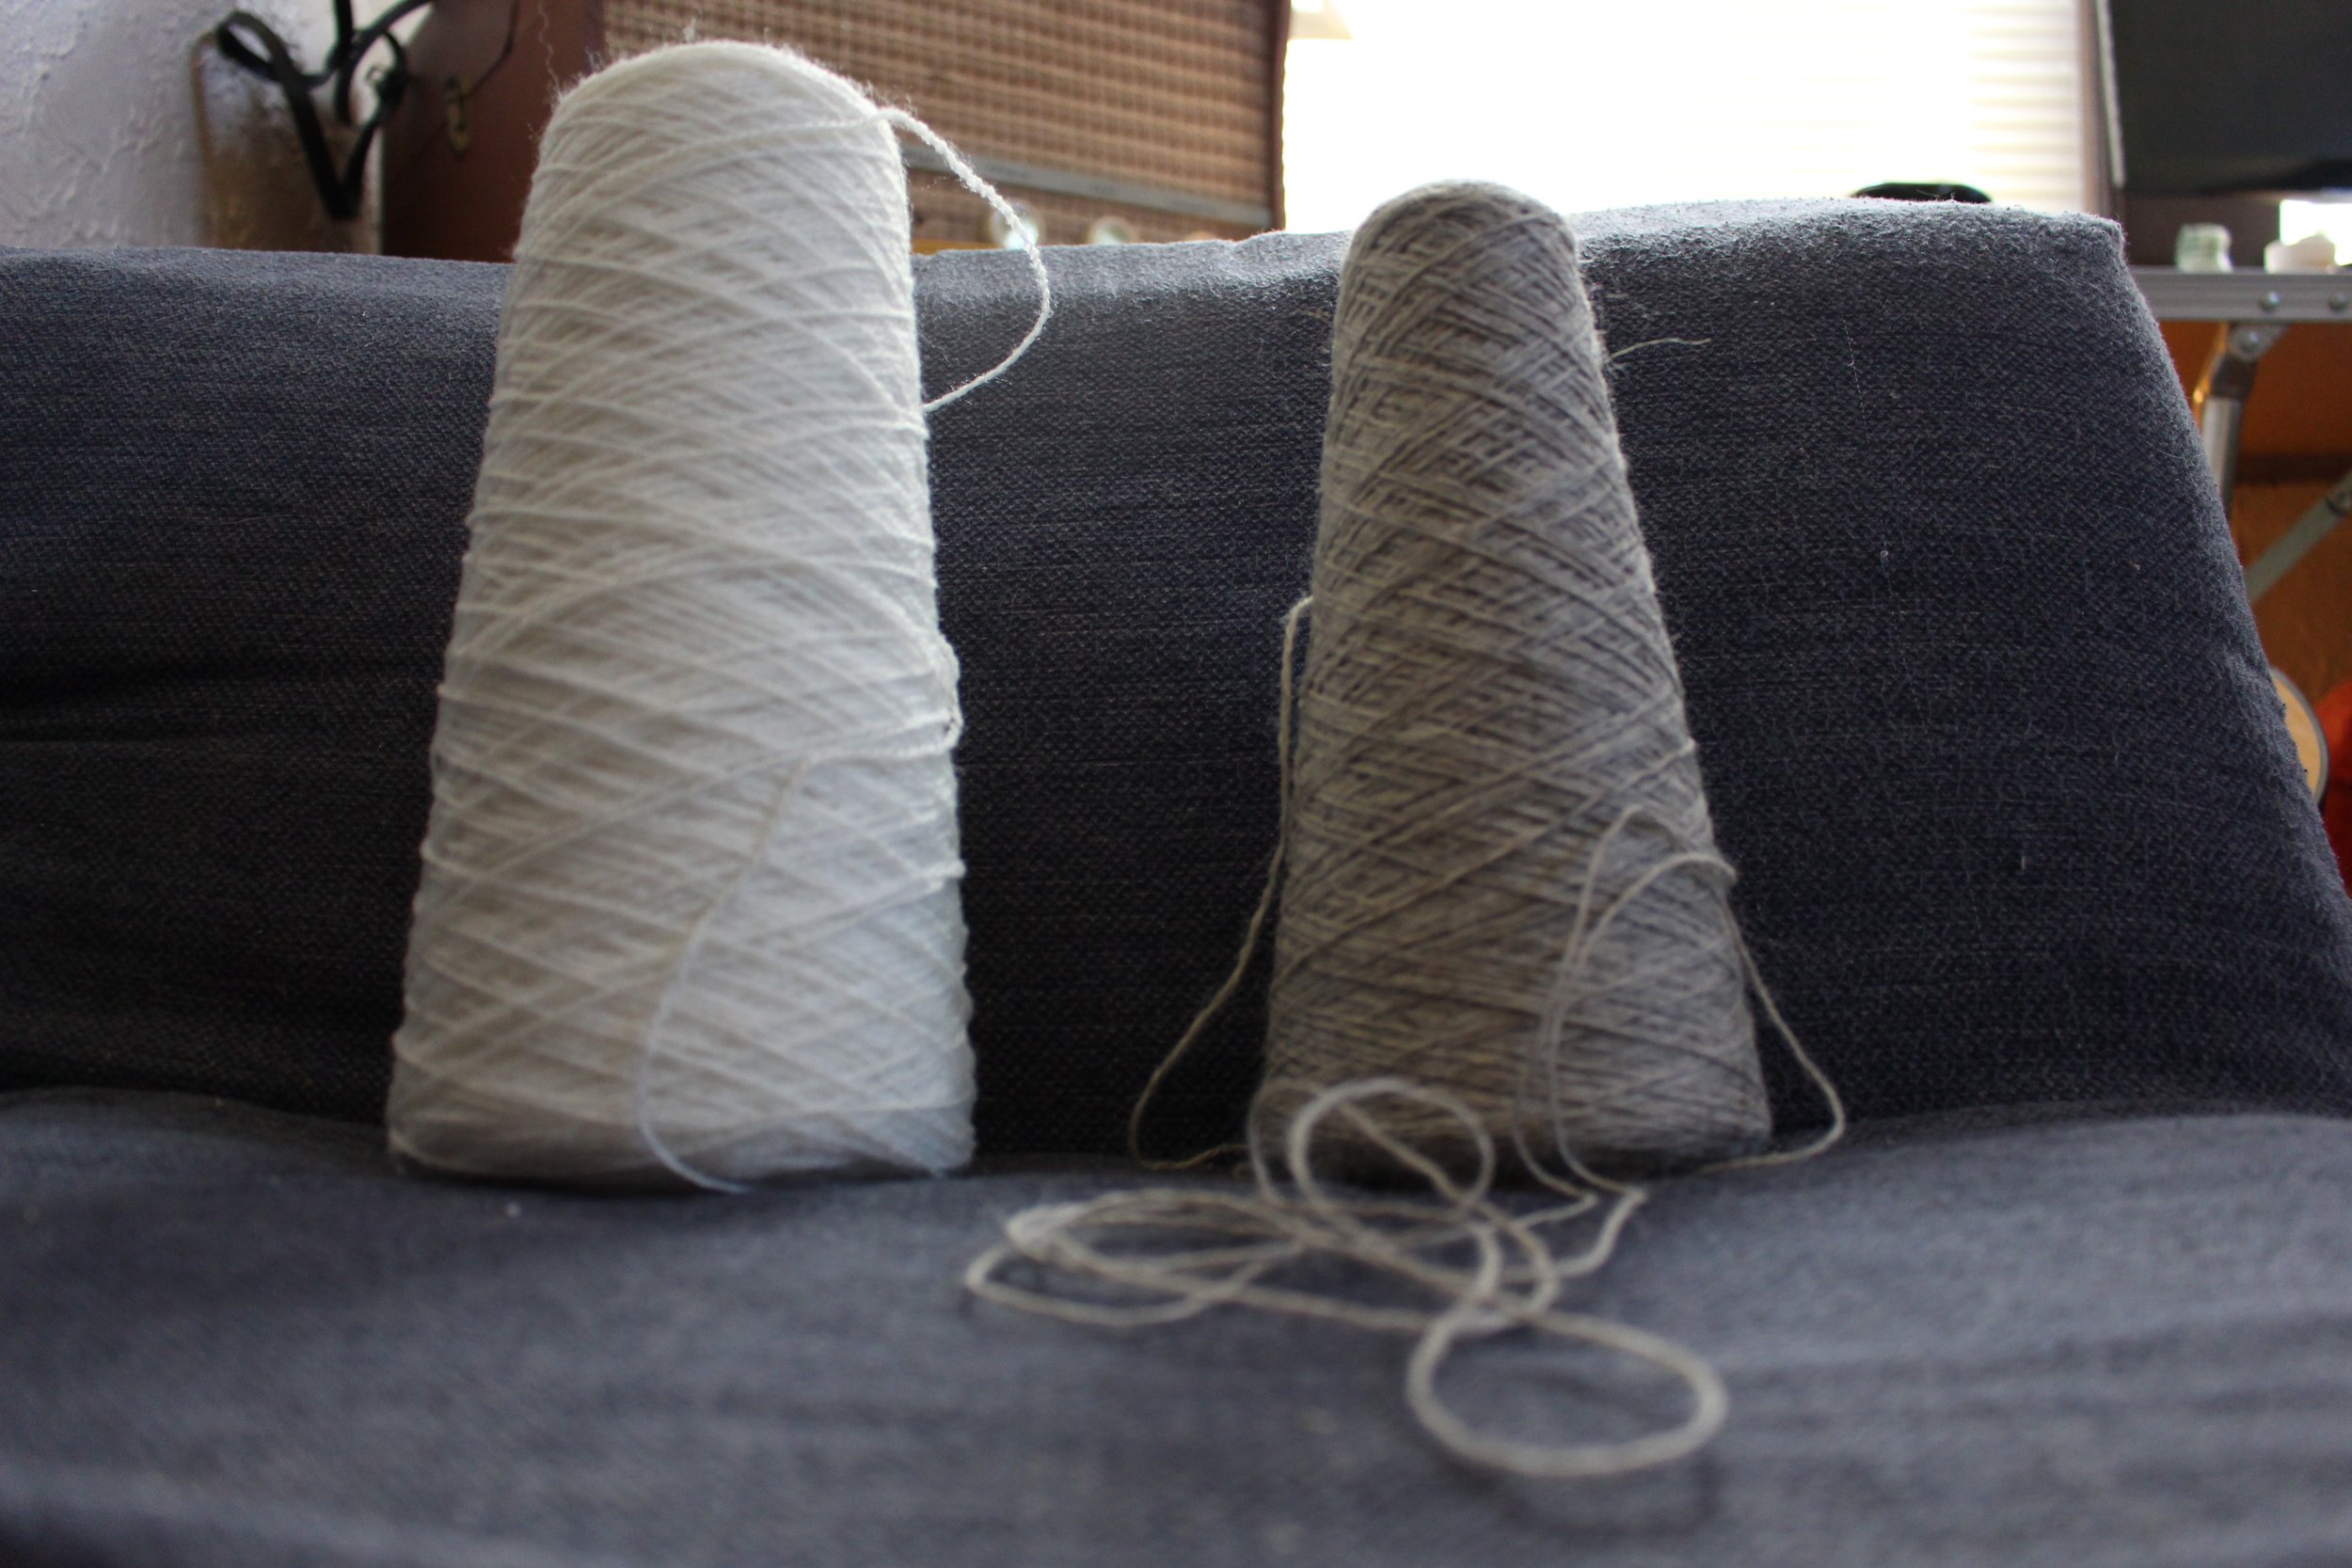
These are the spools of yarn that I used for the sweater. It is very thin and would probably need a crochet G hook or smaller, depending on how tight or loose you wanted the stitches. I actually used a crochet I (or J) hook because I wanted the stitches to be pretty loose and breathable.
Pattern
::Materials:: Crochet hook I or J , Skein or spool of thin yarn , Tape Measurer , sewing needle for yarn
::Gauge:: I hate to do this part of making anything but it's pretty important since the yarn being used and your tension on crocheting can be different from mine. This part will let you know how many stitches you will need once you find out how long you want your sweater.
For me, I wanted it to be 18" long. So, for my gauge; I crocheted 10 stitches about 3 or 4 rows to see how long that piece would be. I figured for my sweater, it would be about 50 stitches to make it 18". ***I used a sweater I already owned to make sure those were the measurements I wanted for myself.***

To create :: work 1 dc, ch 1, and work another dc, all in the same st
Abbreviations
chain (c), single crochet (sc), stitch (st), half double crochet (hdc), double crochet (dc), V-stitch (V-st)
FRONT SIDE ROW 1: ch 50 st plus 2. Third st from the hook, dc. Dc the whole row down, ch 2, turn work.
ROW 2: Dc this whole row, at the end of the row
ROW 3-22: ch 3, turn work, dc into next st from hook, crochet V-st rest of the row
ROW 23-24: Dc the whole row
ROW 25: hdc the whole row
ROW 26: hdc the whole row, fasten off.
***You are done with the front part of the sweater. Now, you can make it as long or wide as you want.***
BACKSIDE
ROW 1: ch 50 st plus 2 st. Third st from the hook, dc. Dc the whole row down, ch 2, turn work
ROW 2: dc the whole row
ROW 3-28: ch 3, turn work, dc into next st from hook, crochet V-st rest of the row
ROW 29-30: ch 1, turn work, hdd the rest of the row

Attach both pieces. As you can see from my drawing; I hand sewed the top 2' from the outside in because I wanted more of a scoop neck. You can sew in more or less depending on how you want it to fit on your shoulders.
I then sewed the front to the bottom from the bottom up leaving 6 " where the armpits would be. Again, you can go off your measurements for how open you want the arm area to be.
ARMS Join yarn anywhere you'd like where the open arm area is located. Then crochet V-stitches all the way around. Crochet all the way around till you get to the length you would like, mine were about 17/18" long.
From the open arm hole, the diameter of the sleeve may be a little wide for you; it was for me. All you have to do is decrease a few stitches till you get the diameter you'd like.
Sorry, if this tutorial/pattern seemed very long! It's my first time writing one and I wanted to make sure I covered everything because I am never too sure what you may or may not know. If you have any questions, please leave me comments or send me a message through my contact tab. I am more than happy to clarify anything.
Thanks again!!!!!